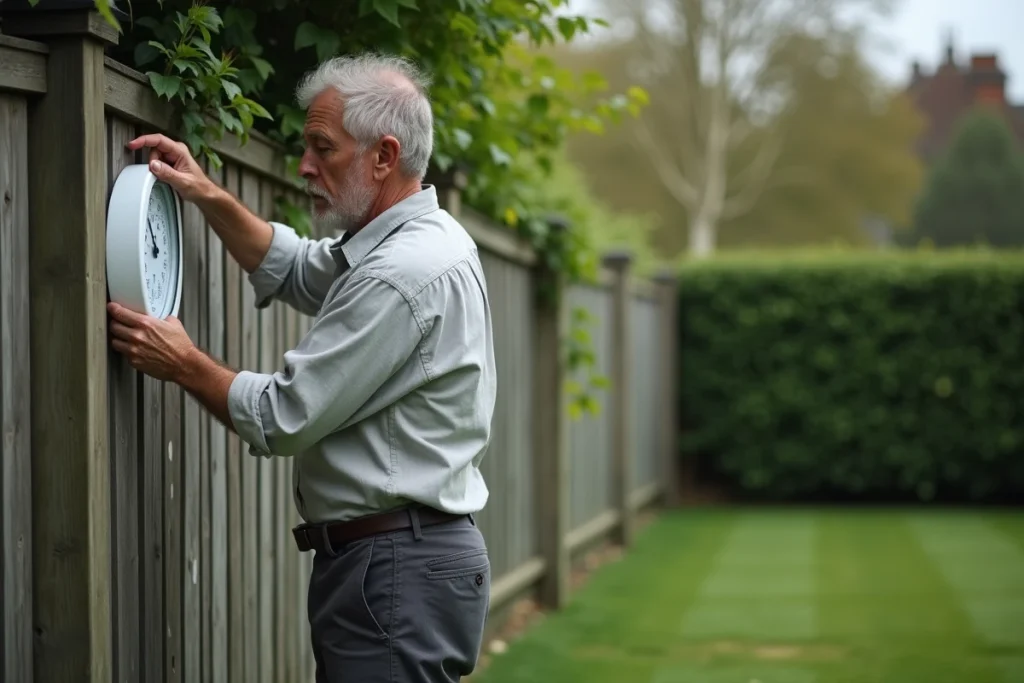
An outdoor thermometer displays a reliable value only if its location adheres to a few precise physical principles. The measured temperature must reflect that of the ambient air, not that of a wall heated by the sun or a concrete slab that radiates its heat. The challenge lies in isolating the sensor from sources of radiation and stray heat while ensuring adequate ventilation.
Solar Radiation and Thermal Inertia: The Two Biases to Neutralize
Before choosing a location, it is essential to understand what skews a measurement. Two phenomena dominate: direct solar radiation and the thermal inertia of nearby surfaces.
A sensor exposed to the sun, even for a few minutes late in the morning, records the heat from radiation rather than the air temperature. The discrepancy can reach several degrees compared to the actual value.
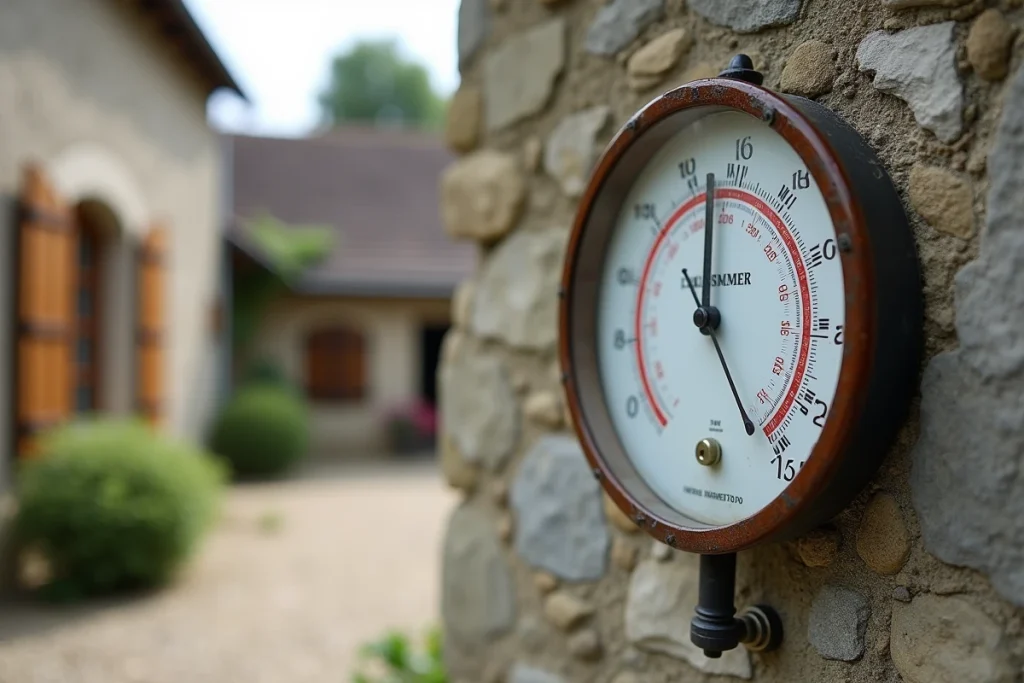
The second bias comes from surrounding materials. A south-facing facade, a paved ground, or a concrete terrace accumulates heat during the day and releases it slowly. A thermometer fixed against a stone wall partly measures the temperature of that wall, not that of the atmosphere. Technical guides recommend keeping the probe away from mineral surfaces, sun-heated facades, and any significant thermal mass.
To learn how to properly place an outdoor thermometer, these two biases are the starting point: everything else follows from them.
Height and Type of Ground Under the Outdoor Thermometer
The World Meteorological Organization (WMO) sets recommendations that Météo-France has adopted. The sensor must be installed between 1.5 and 2 meters above the ground. Below this height, the proximity to the ground introduces a thermal bias: soil, gravel, or asphalt radiate differently depending on their nature and color.
The type of surface is as important as the height. A grassy surface is the reference in meteorology because grass limits heat accumulation and promotes evaporation, keeping the surface temperature closer to that of the air. A thermometer suspended above a lawn provides more consistent results than one above a tiled terrace.
Distance from Hard Surfaces
Some installation guides recommend a distance of at least fifteen meters from paved surfaces. In practice, in an average-sized garden, this distance is not always achievable. Prioritizing maximum setback from slabs, walls, and roofs remains the best approach.
Ventilation and Radiation Shelter: The Indispensable Pair
A shaded location is not enough. A confined sensor measures the warmed air that stagnates around it, not the ambient temperature. Natural ventilation is as crucial as protection from the sun.
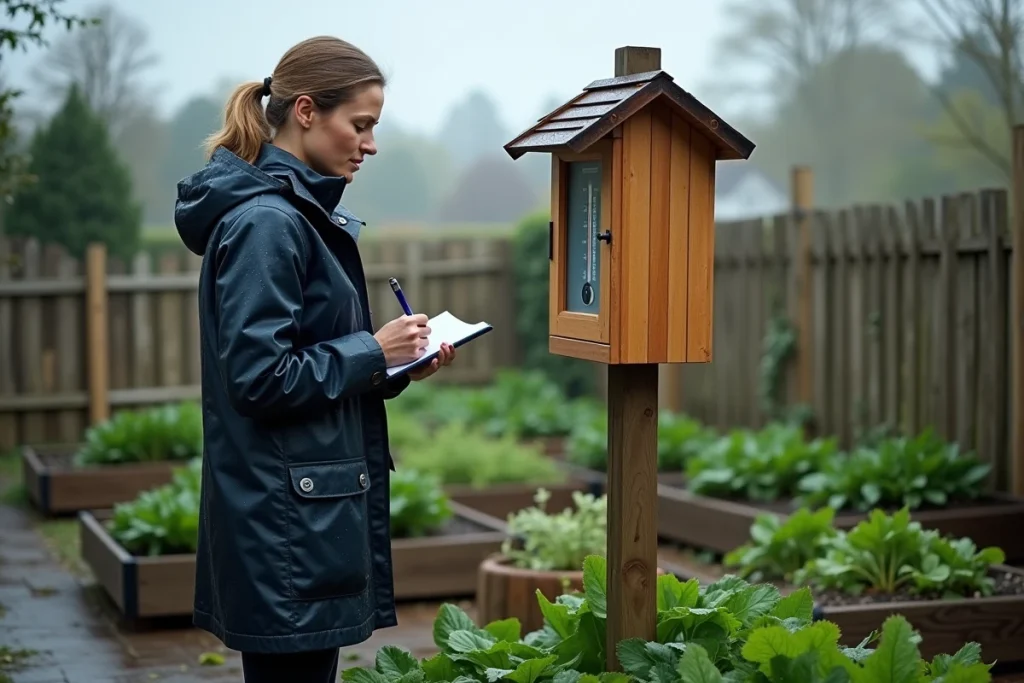
In professional meteorology, the sensor is housed in a radiation shelter (often referred to as a Stevenson screen in its classic form). This white louvered box serves two simultaneous functions:
- It blocks direct solar radiation and infrared radiation reflected by the ground or buildings, without trapping the air inside.
- Its side openings allow air to circulate freely, enabling the sensor to follow real temperature variations without excessive delay.
- Its white color limits heat absorption by the shelter itself, preventing stray warming of the probe.
For domestic use, simplified shelters are available commercially. A connected weather station delivered without a shelter can be protected by a small louvered anti-radiation shield, which can be found for a few dozen euros.
Common Mistake: The Sensor Under a Closed Awning
An overhang or awning protects against rain and direct sun, but air circulation is often insufficient. Warm air rises and accumulates under the structure. A sensor placed just under a roof overhang can overestimate the temperature by several degrees during calm, sunny weather. The best compromise is to fix the shelter to a post or stake, in an open area, rather than against a built structure.
Test the Location Before Fixing the Thermometer
A good practice, rarely mentioned, is to test the sensor at several locations in the garden before choosing the final position. For a few days, move the thermometer from one point to another and compare the readings with those from the nearest Météo-France station.
This comparison helps identify areas where the temperature diverges significantly, indicating a local influence (wall, dense hedge, mineral soil). The location that gives the values closest to the weather reference is the one that experiences the least bias.
- Test at least one point on the north side of the building and one point in the open garden, away from walls.
- Record temperatures at the same time, ideally in the early afternoon (thermal peak) and late at night (daily minimum).
- If the discrepancy with the reference station regularly exceeds two degrees, change the location.
North Orientation and Distance from Heat Sources
The north side of a building receives little to no direct solar radiation at our latitudes. It is the preferred orientation in industrial air conditioning and meteorology for positioning an outdoor temperature sensor.
There remain artificial heat sources to avoid: ventilation outlets, outdoor air conditioning units, chimney flues. These devices emit warm air that skews measurements within a radius of several meters. A thermometer placed near an air/air heat pump records temperature spikes unrelated to the actual weather.
The ideal placement therefore combines a north orientation, a grassy surface, a ventilated shelter at the right height, and sufficient distance from any hard surface or heat source. These criteria may seem numerous, but in most gardens, there is usually one spot that reasonably meets them all. Testing multiple locations beforehand remains the safest way to find it.